Blog
Epoxy Wood Table – Crafting a Unique Artwork Creation Process
Sep
In the realm of art and interior decoration, epoxy wood tables have swiftly captured the attention of enthusiasts of distinctive and creative designs. The fusion of natural wood and epoxy resin gives birth to impressive artistic creations, featuring unique lines and colors. In the content of this article, Natural Timber Stone will elaborate on the detailed process of crafting epoxy wood tables, from design to production, unveiling a world full of captivating creativity.
Introduction to Epoxy Wood Tables
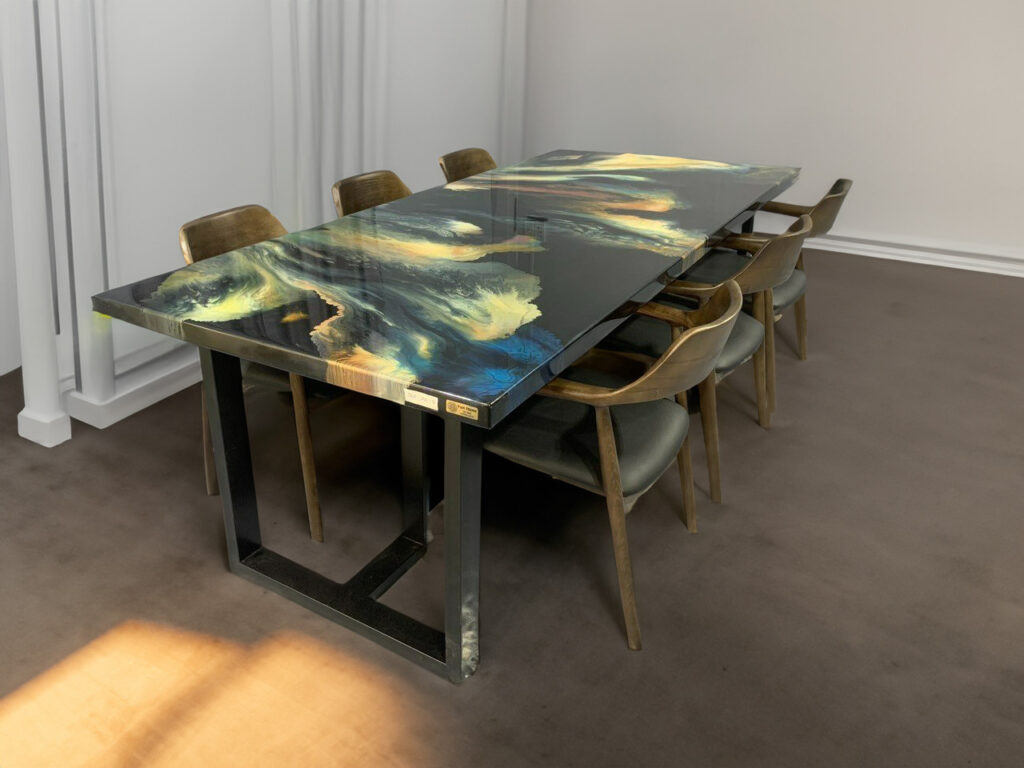
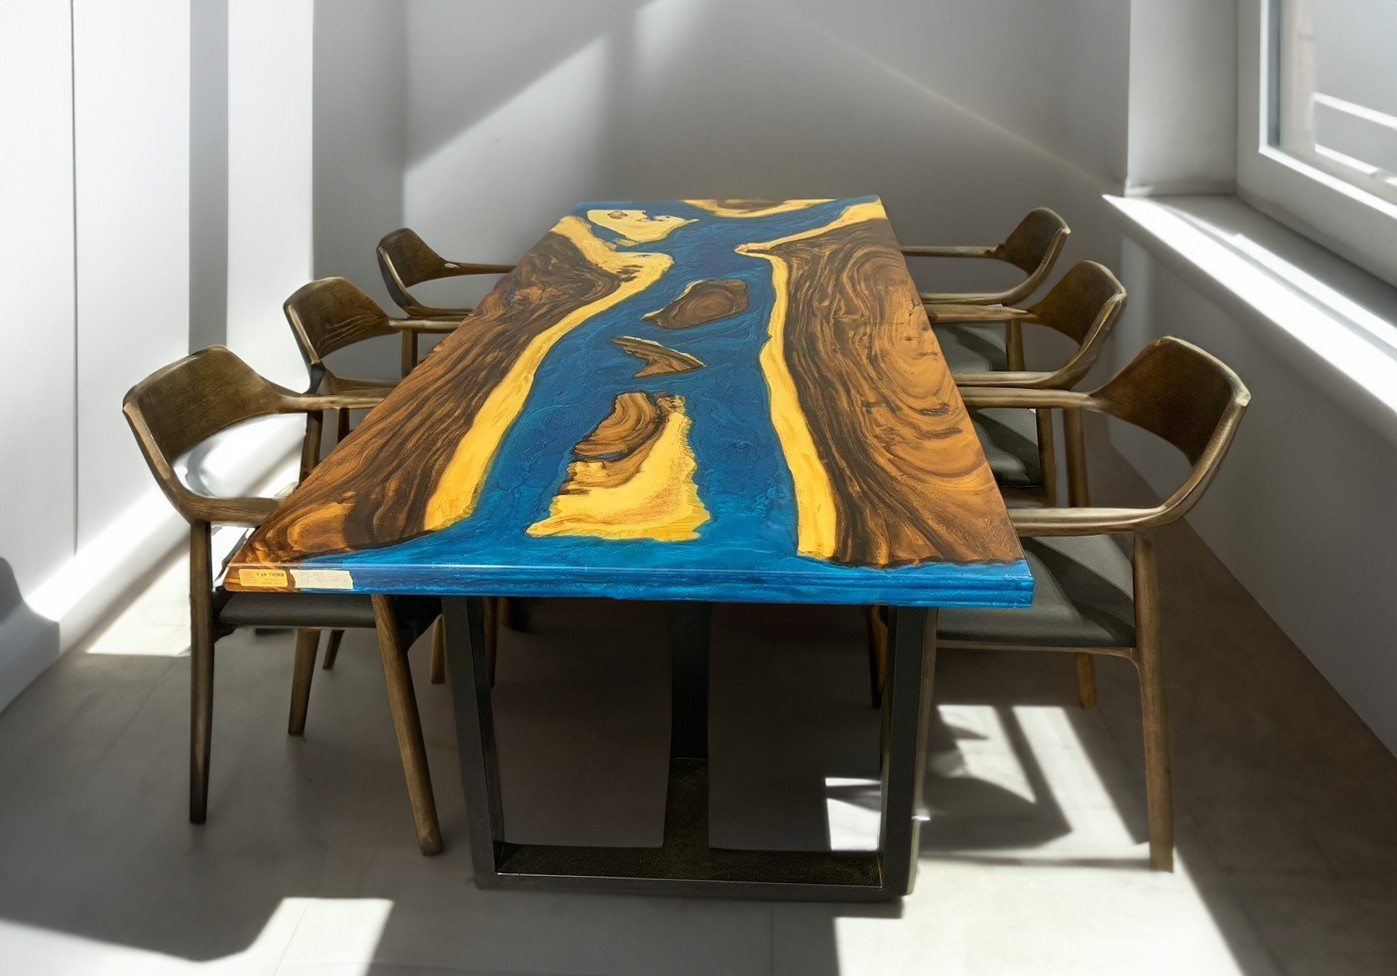
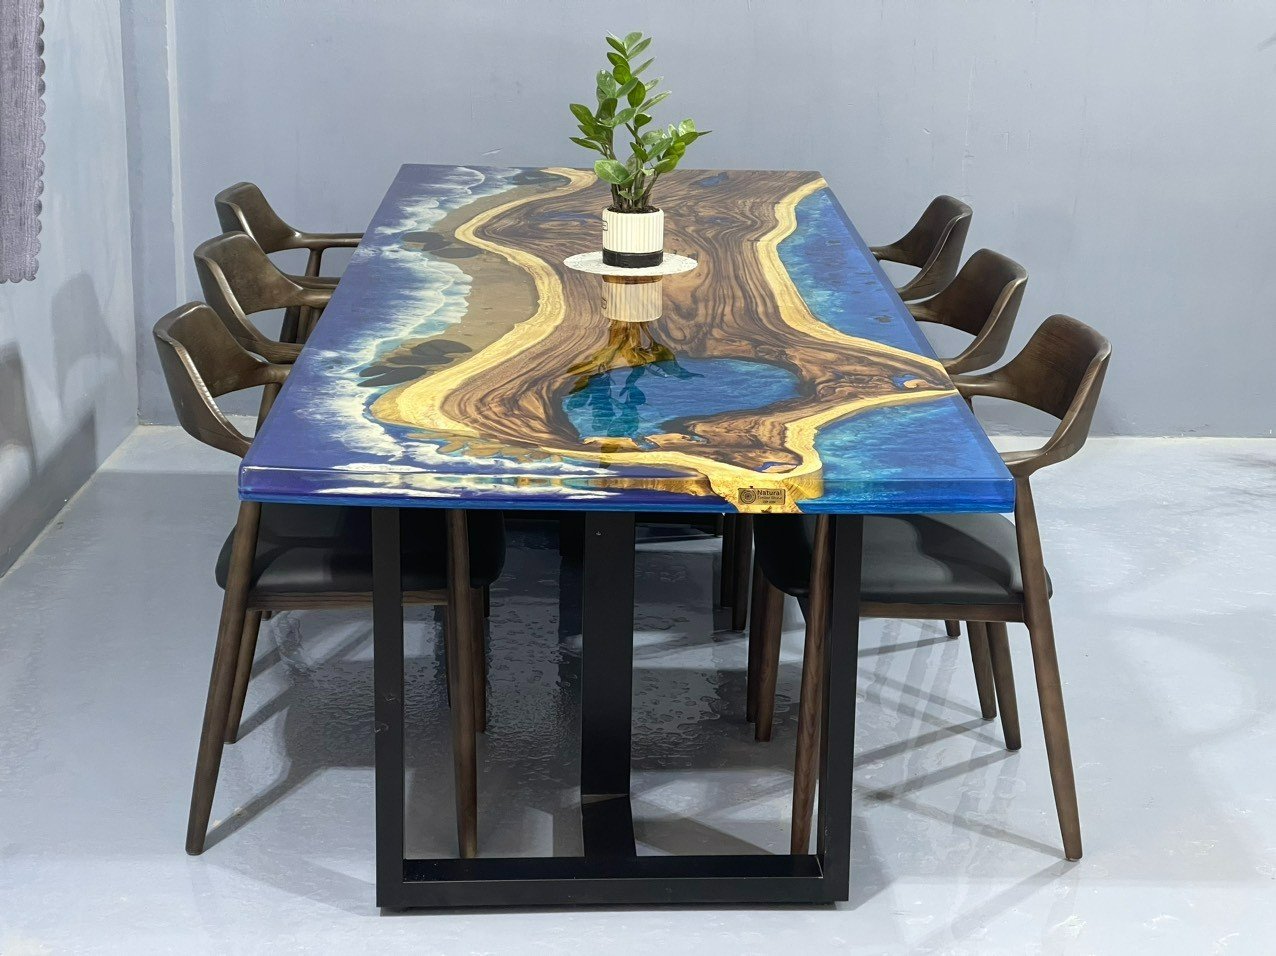
As vibrant art pieces, epoxy wood tables transcend being mere furnishings; they embody the soul and spirit of the artisan. The seamless marriage of wood’s natural form and the innovation of epoxy layers delivers a splendid visual experience. With each crack and grain of wood, combined with the sparkling and alluring hues of epoxy, each tabletop becomes a unique narrative, an individual mark etched into space.
Beyond their physical beauty, epoxy wood tables carry a message of connection between humanity and nature, creativity and progressive spirit. It’s not solely about material fusion, but also the amalgamation of ideas, concepts, and emotions, culminating in a work that reflects the creator’s identity and perspective.
Epoxy wood tables are not confined to fixed designs; rather, they epitomize the boundless flight of imagination and artistic talent. From elegant tabletops adorned with gentle pastel shades to explosive pieces featuring abstract artistic expressions, there are no limits to the creativity possible with epoxy wood tables.
Epoxy Wood Table Production Process
Step 1: Wood Selection and Design
The process commences with the selection of wood suitable for the intended design and purpose. Hardwoods like oak and rosewood are often favored due to their termite resistance and durability. After wood selection, a table design is created, pinpointing the epoxy areas and intricate details.
Step 2: Wood Preparation
The wood is cut and smoothed to achieve a flawless surface, eliminating cracks and uneven areas. Thorough wood preparation ensures that the epoxy layer adheres smoothly and seamlessly upon completion.
Step 3: Epoxy Casting
Pouring the epoxy layer stands as the pivotal step. First, the wood is placed in a mold according to the predetermined design. Subsequently, epoxy resin and a catalyst are mixed and evenly poured onto the wood surface. This phase also involves adding pigments and introducing air bubbles to create unique color effects and shapes.
Step 4: Curing and Polishing
After epoxy casting, the product is left to dry in a dust-free and well-lit environment. Following this, the surface is polished and sanded to attain a smooth and glossy finish. This process demands patience and skill to ensure a flawless surface.
Proper Epoxy Table Maintenance Procedure
Regular Cleaning Procedure: Upon completing the epoxy wood table, proper maintenance and cleaning are vital to preserving the product’s beauty and longevity. You should regularly wipe the tabletop’s surface using a soft cloth and warm water to remove dust and minor stains.
Avoid Heavy Impact: Prevent strong impacts on the table surface and refrain from placing excessively heavy objects on it to prevent damage to the epoxy layer. This caution is particularly essential during table movement and arrangement.
The epoxy wood table production process necessitates not only technical skill and artistic talent but also yields interior pieces laden with artistic value and limitless creativity. Epoxy wood tables are not just furnishings; they stand as symbols of beauty and boundless creativity. By following proper cleaning and maintenance practices, you can keep this masterpiece perpetually fresh and shiny for years to come.